These 6502 tools are a collection of free software I have collected together with some scripts to allow them to be easily used.
These tools are intended to allow a relative beginner to compile simple programs that will compile to multiple 8 bit destination systems.
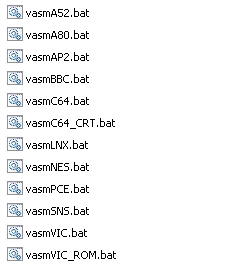
All compilation is done with 'VASM' via a set of batch files (found in S:\Utils\Vasm).... and a copy of Notepad++ is provided for code editing
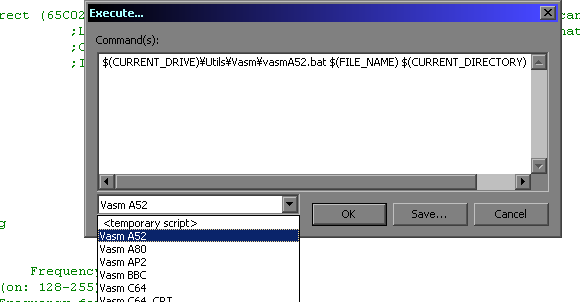
Code can be easilily assembled via Notepad++ by pressing F6 to use NppExec, and selecting one of the destinations... the appropriate batch file will be executed building the program, and the emulator started
Disclaimer
Please use these tools at your own risk.
They are provided freely in the hope they will be of use, and have been tested to the best of my ability but I cannot test in all situations or guarantee they will not harm your computer in some unexpected way.
These tools have been tested on Windows 10, Windows 7 64 bit, and Windows XP 32 bit
With the exception of MsxHeader and PlusThreeHeader and the scripts and examples I did not write the tools provided in this kit - to my knowledge, all the tools in here are Free and open source, and there is no reason they cannot be redistributed - If you know otherwise, please notify me and I will take appropriate action to resolve the issue.
1. Extract the DevTools into a folder
2. Extract the sources 7z into the same folder (overwriting older files)
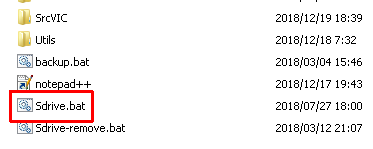
3. Open the 'Sdrive.bat' - a fake S drive will appear
4. Open that S drive, from that S drive click on Notepad++.txt
5. Open a file to assemble, It's best to try a Hello world from the folder
Sources\SimpleHelloWorld
6. press F6
7. select VASM xxx as appropriate for the machine you're trying to develop for.
you should see a hello world in the
emulator.
8. When you are done use "Sdrive-remove" to remove the S drive